I found this gem at Inks Lake State Park. First time I’d seen a snail hanging on a flower petal. Now, just how did it get there?


I found this gem at Inks Lake State Park. First time I’d seen a snail hanging on a flower petal. Now, just how did it get there?
Our spring is in full bloom here in central Texas and I decided to take some time to photograph what Mother Nature is providing. I counted 17 flowers around the yard but photographing them turned out to be one of those things easier said than done. Here is the first set.
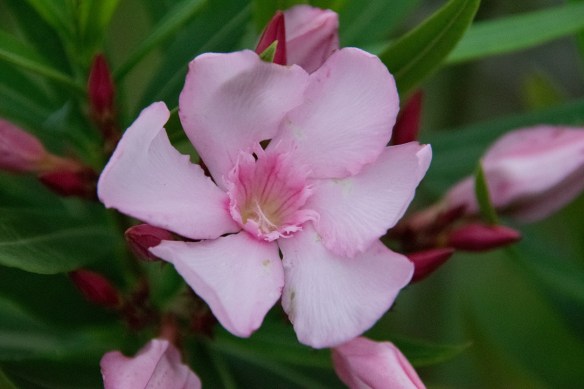
Azalea
My routine was to put on my boots (as the ground was still wet from rain), go out with my camera, photograph the flowers, come back in, take off my boots, load the photographs to the computer, and review them.
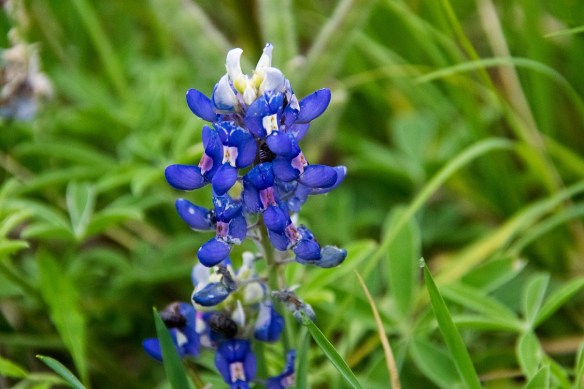
Bluebonnet
Oh, it was easy enough to photograph the flowers, but when I reviewed the photos, I started out with about a 50% blurry rate. That meant putting on my boots again, going back outside, photographing some of them again, coming back in, taking off my boots, loading the photos to the computer, and reviewing them. Talk about a ‘rinse and repeat’ cycle.
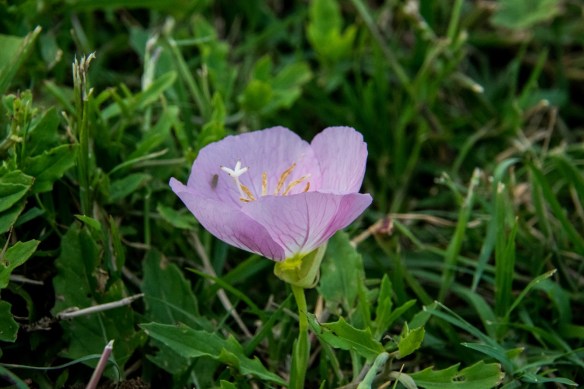
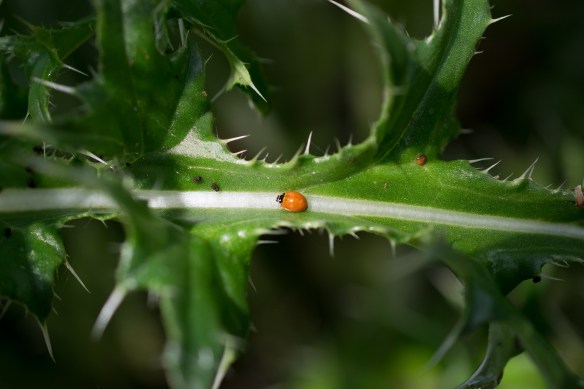
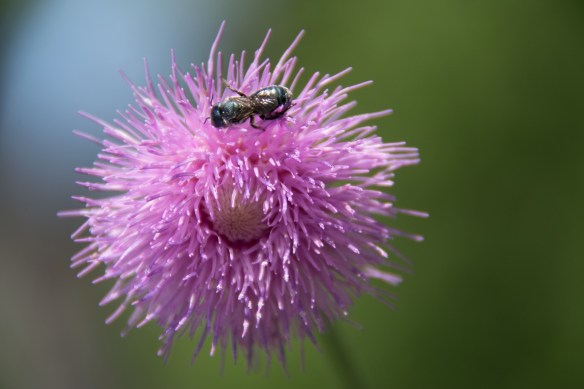
Evening Primrose with small guest
I did this seven times. Seven times to get photos of 17 flowers. I know it’s not this hard for everyone, but I am mostly teaching myself and there seems to be only one way to learn: The Hard Way.
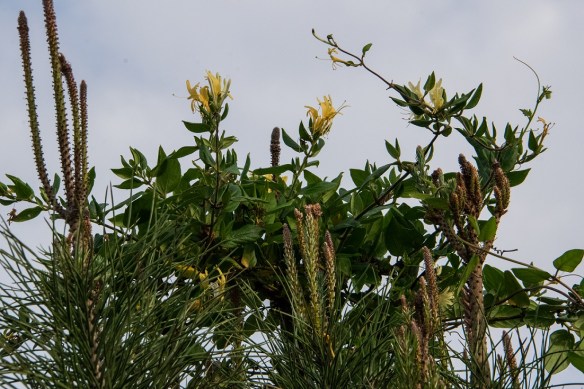
Honeysuckle vine that found its way to the top of an Italian Stone Pine tree
This is a good time to mention that I wasn’t just taking one photo of each flower. I took several photos of each flower. I changed my distance and position in relation to the flower. I changed the aperture. I changed the ISO setting. I changed the shutter speed. And sometimes I had only blurry photos.
Back outside I went.
I’ve taken beginning DSLR photography classes, read books, read online articles, checked out the Nikon website. Most recently I attended a wildflower photography workshop and came home with about the same success rate: 50%.
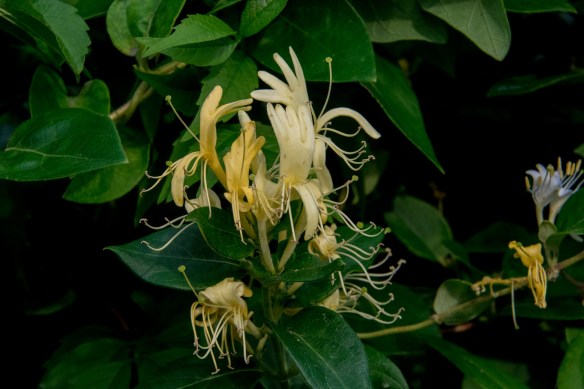
Honeysuckle vine on the fence
I learned a lot in the workshop and I learned a lot from my workshop failures, but those I didn’t see until I loaded the 237 photos to my computer at home once the workshop was over. I haven’t had a miracle insight or anything as to why so many of my photos are bad, but I’m getting a clue. I hope. I will continue to work on learning the correct manual settings.
I’ll just keep putting on my boots and going outside.
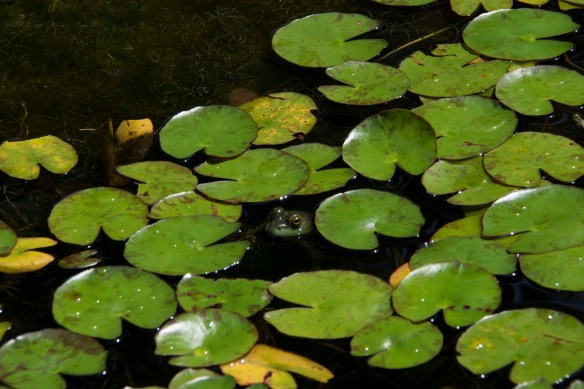
The place where I went for the wildflower photography workshop has a frog pond. Most of my workshop photos are blurry (grrr!), but I managed a few that weren’t.


After looking at other photos with textured backgrounds, I realized that if the background was mostly transparent, it would work with a foreground with a lot of detail. So I worked on the Scarlet Leather flower again, this time with rain drops as the background.

My first effort working with the flower photo wasn’t successful, that’s for sure.
This photo of a tall, metal sunflower is overlaid onto a stone background photo. I had to learn how to do this for my photography homework. A little secret I’ll share with you: This was not my first effort. Nor my second. Not even my third.

This was hard. Not the overlaying part using the software; the video had good instructions. No, the hard part was seeing. Seeing which objects would make good foreground subjects and which backgrounds would blend well with a foreground object.
Oh, I had the perfect composite photo in mind. I visualized a beautiful red flower atop a pebbled black-and-white background. I took both these photos at McKinney Falls State Park on my Sunday hike.


My problem was that I didn’t remember all the green stuff surrounding the flower. It’s kind of hard not to notice, but I wanted a red flower and that’s all I saw. I was quite surprised when I overlaid the two and ended up with this. Oops.

Looks like some kind of reptilian skin. I worked on it for quite a while. I tried to remove as much green as possible but when I did that, I lost the red as well. I don’t really know what I’m doing with the software (it’s new to me), so don’t blame it.
Rats. I tried again, with a different object: the rabbit. The rabbit has a strong outline and is opaque. Okay, that is true but I still had junk in the background. Here’s the rabbit with its original background.

At the Lady Bird Johnson Wildflower Center
That’s when I figured out that the object would best be served with a washed-out original background. I ended that photography homework session without any acceptable results.
A short time later I was driving into town and just as I was getting close to the nursery (which is on the way) I remembered they had a tall, metal sunflower and bluebonnet out front. And it was a grey, cloudy morning! Maybe this will work, I thought. I stopped and photographed the sunflower. I had my camera with me, of course!
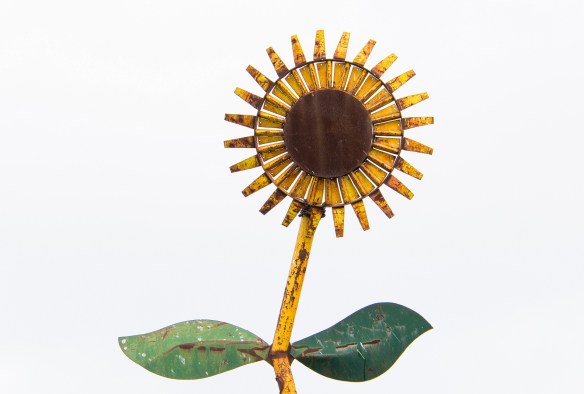
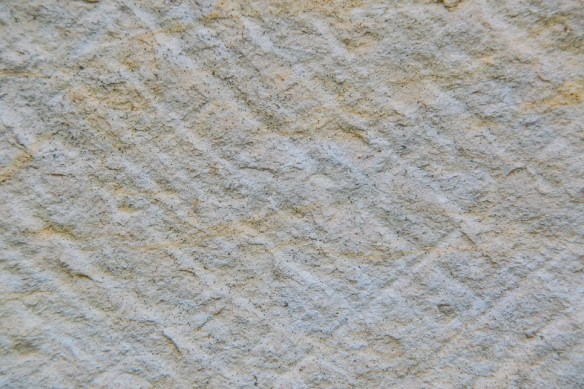
I looked for a textured background that would merge well with the sunflower and tried the stone I photographed Sunday morning. Yes! That composite photograph is the one I submitted for my homework.
I am learning something new everyday.
