Montgomery Ward Sewing Machine

Look what I found in the guest room where I stayed with friends: a Montgomery Ward sewing machine. This was one of those instances where I made myself at home: I spent at least 30 minutes moving this sewing machine all over the room trying to get a good photograph. (It wasn’t set up to be used. It was being stored in the extra bedroom.)

I have no idea as to the year it was made.
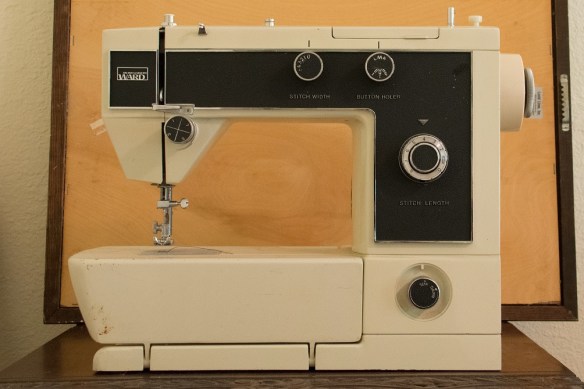
 Montgomery Ward sewing machine (23)

I even took some art work from the dining room and turned it around to use as the backdrop because I discovered that the sewing machine and the wall were the same color. (The framed art work was just leaning up against the wall; it wasn’t hung up.)

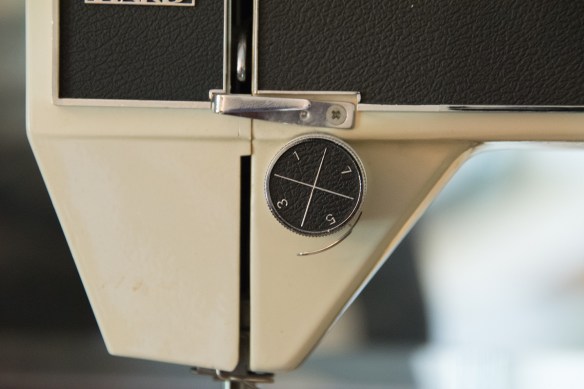
I don’t know what this knob does.

Montgomery Ward sewing machine (18)

Moody, Texas

And, yes, I put everything back in its proper place after finishing the photograph session.

~~~~~~~~~~~~~~~~~~~~~~~~~~~~~~~~~~~~~~~~~~~~~~~~~~~~~~~~~
After the original post, I asked Kay if the machine works. She said it works and she uses it all the time.

Circular Embroidery Attachment

In the last sewing class I took, I learned how to use the circular embroidery attachment. I had owned the attachment for years without using it (eek!), but I had it when I needed it for class!
~~~~~~~~~~~~~~~~~~~~~~~~~~~~~~~~~~~~~~~~~~~~~~~~~~~~~
After the practice piece, this is the first class sample I made. As far as I can tell, the circular embroidery attachment is magic. I can’t really see how it works as it is covered up by the fabric, but somehow it makes the fabric move in a circle. You have to be careful not to tug on the fabric as the machine is sewing or the ends of the stitch circle won’t match up. Ask me how I know.

Class Sample 1

~~~~~~~~~~~~~~~~~~~~~~~~~~~~~~~~~~~~~~~~~~~~~~~~~~~~~
This is the second sample I sewed in class.
Class Sample 2

~~~~~~~~~~~~~~~~~~~~~~~~~~~~~~~~~~~~~~~~~~~~~~~~~~~~~
When I got home and unpacked all my sewing gear, I set up my machine and practiced a bit more just like I’m supposed to do, to help internalize what I learned in class. I’m pretty happy with the results. I’m not sure what I will do with these samples but now I know how to use the attachment.

Circles on my own

Feathers in Thread

Here are two feathers I sewed. No pattern, just free-motion quilting. I lightly penciled in an outline before I started, but that’s all.

Metallic thread is finicky. A lot of sewists have trouble with it breaking easily and often. That certainly had been my experience and I hadn’t tried to sew with it in years. I heard a rumor recently that the quality of metallic thread had greatly improved, so I bought three new spools.

My tested the gold metallic thread and sewed the first feather. The thread did not break! Yippee!

a-feather-metallic-s

Next I sewed another feather using 30-weight polyester thread (three colors). I liked it, too.
a-feather-three-reds-s

The black markings are done with a special pen whose ink disappears when heat is applied. I took the feathers to my ironing board, covered them with a layer of fabric, and gently pressed them.

Yes, the black markings disappeared, as advertised. But the stabilizer on the back shrunk up a bit and I came away with two feathers free of markings but way more rippled than when I started. Sure hope I remember that the next time I try to remove markings.