This is my second Mola book cover. I created my own design for this one and used Asian fabrics.

Mola Butterfly

Inside

Ready to write
I learned the Mola book cover technique in a class at Sew Much More.

This is my second Mola book cover. I created my own design for this one and used Asian fabrics.
Mola Butterfly
Inside
Ready to write
I learned the Mola book cover technique in a class at Sew Much More.
I recently took a two-session Mola Book Cover class at Sew Much More, taught by the fabulously talented Edie Kemp.
First we sewed our design through seven layers of fabric. Then we cut out the designs, choosing which fabric layer to expose.
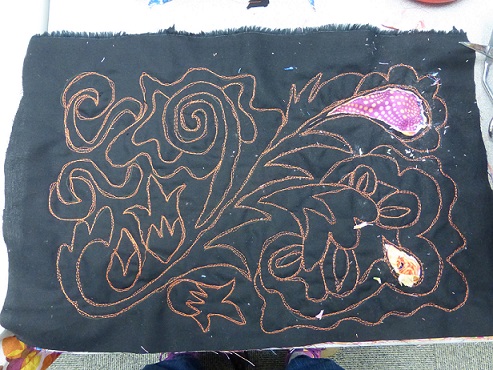
Design sewn and starting to cut away the layers

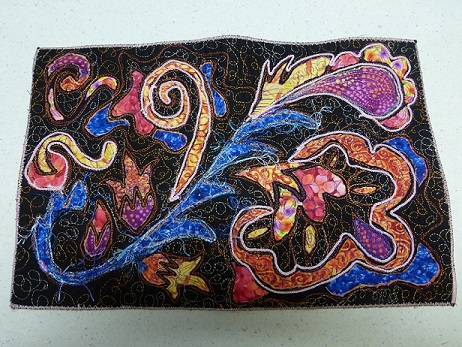
More of the design cut away
Here it is, all cut out, squiggly quilted, embellished and sewn around the edges. The instructions called for it to be bound in the traditional quilting manner, but I liked the zig-zag sewing a lot, so I went around the cover’s edges three times. Then I figured out that the binding also served to attach the closure loop. Oh.
It’s always something, isn’t it? Especially for people who don’t follow the instructions. That would be me, in this case. I read the instructions; I just didn’t follow them.
All dressed up
I managed to add the pen/pencil holder, per the instructions.
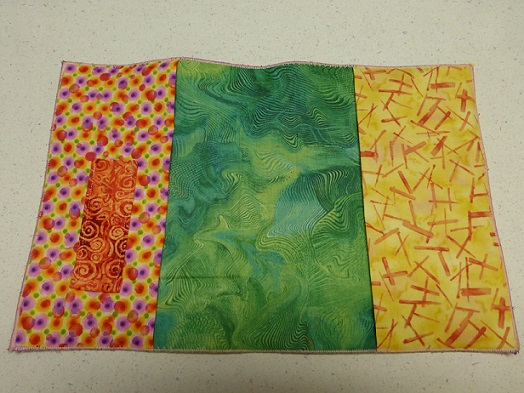
The inside
And here it is with the composition book inserted.

Ready to write!
Fortunately for me, it stays closed without the loop and button closure.

Ready to carry
In honor of Mardi Gras, I present my Mardi Gras quilt.
In February, I took a two-session class at Sew Much More, taught by the talented and gracious Terri Waddle. The class instructions said to bring several single-color or tone-on-tone fabrics. In my stash of about a gazillion pieces of fabric — a slight exaggeration, but not by much — I usually have zero pieces that are plain or tone-on-tone. My tastes run to fabrics with bright prints: flames, lightning bolts, dogs, cats, and roses, for example, and anything batik or Asian.
What’s an art quilter to do?
Fortunately, my friend Shelly gave me a fat quarter set of — TA-DA! — some really nice single-color fabric for Christmas. Just in time! Once I saw how bright the quilt was with my new single-color fabrics, I named it my Mardi Gras quilt.
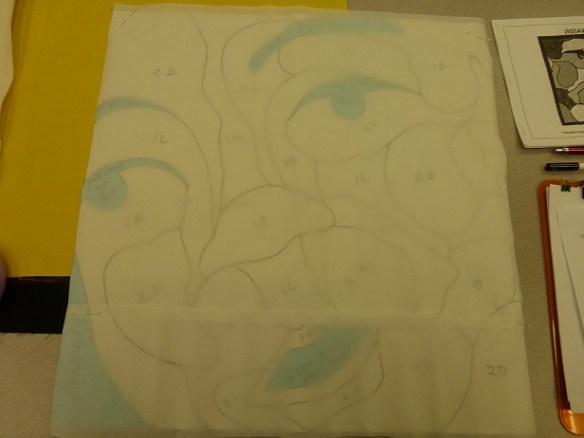
Pattern ready to be traced
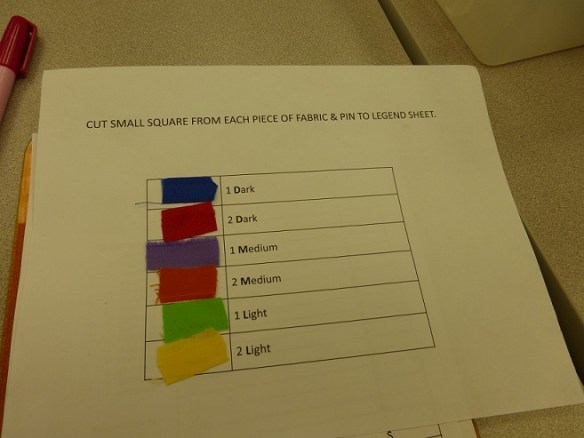
Fabric legend, very important
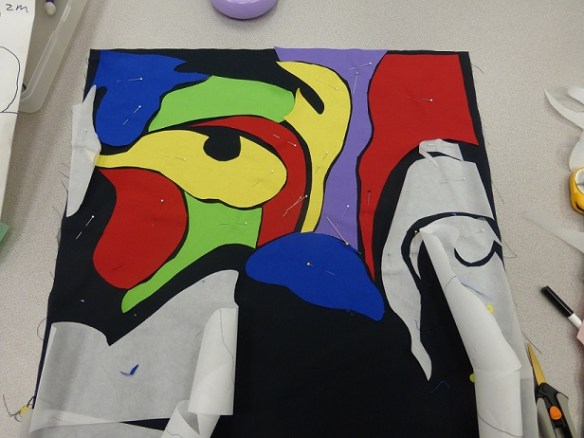
Starting to come together
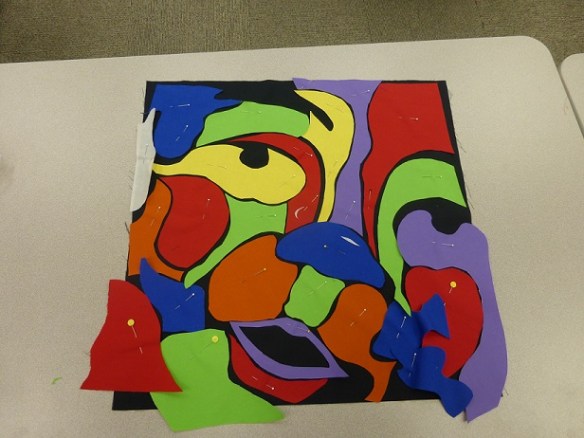
Only one more piece!
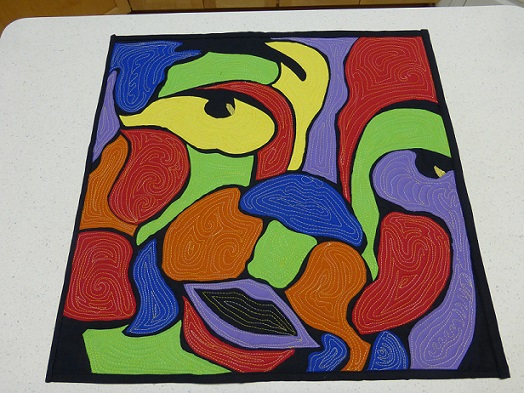
Quilted and binding finished. It’s a miracle!
I recently completed a quilt top, using the Disappearing Nine Patch pattern. The sewing was easy. The hard part was laying out the blocks and deciding which arrangement to use. Here are a few possibilities that I considered. (I had to move the dog bed out of the way.) I wish I had taken photos of the blocks before I cut them up. Oh, well.
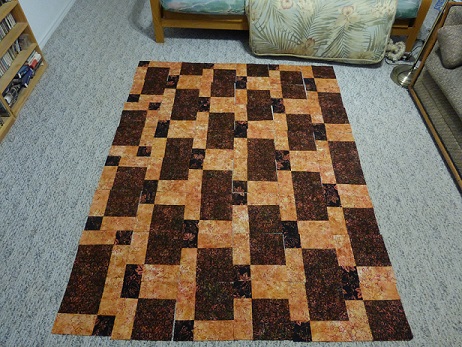
Audition 1
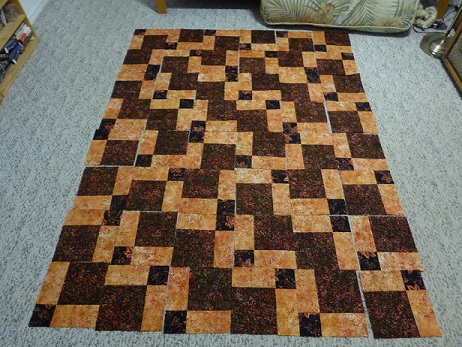
Audition 2
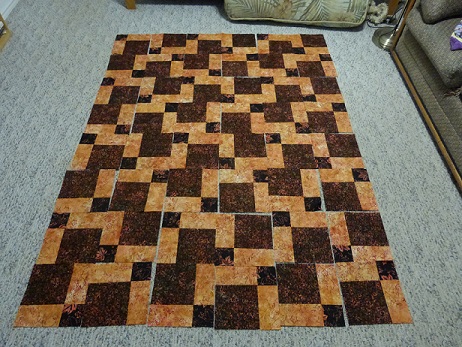
Audition 3
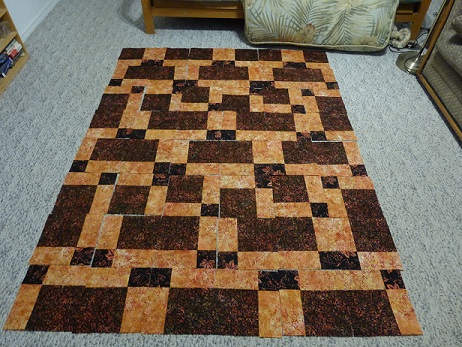
Audition 4, just right
Now, to get it quilted and put on the binding. Don’t wait up.
As I posted recently, I attended a sewing/quilting retreat. I finished the retreat’s Braid In A Day quilt top the day after the retreat, two days total.
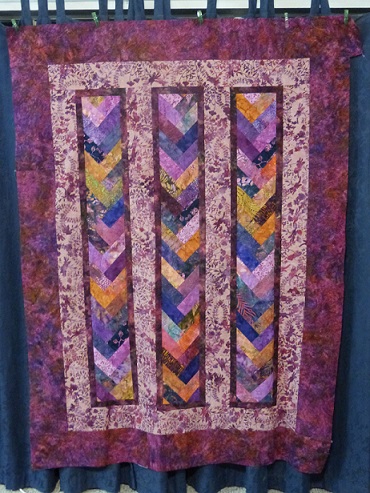
Braid quilt top in THREE days
I liked the pattern so much, I made another one . . . in three days; four if you count the day to piece together the quilt backing. I’m pretty sure that having each quilt top take longer to complete than the previous one is not what the Quilt In A Day people had in mind.

Backside, serged
I like serging the quilt top instead of sewing. Not all patterns will lend themselves to being pieced on a serger, but I’ll be looking through my patterns to pull out the potentials.
Oh, good. Yet another subset of patterns to collect and put in a separate pile, along with all the other project piles.
